Accessing Azure Virtual Desktops

Step 1

Verify that you have the Remote Desktop App installed. Search for “Remote Desktop” and you should see the application. 

Image
remote desktop circle logo, red circle with less than sign stacked above greater than sign, above text, Remote Desktop App

 If the Remote Desktop App is not installed on your machine, you’ll need to download and install it. Download the software.
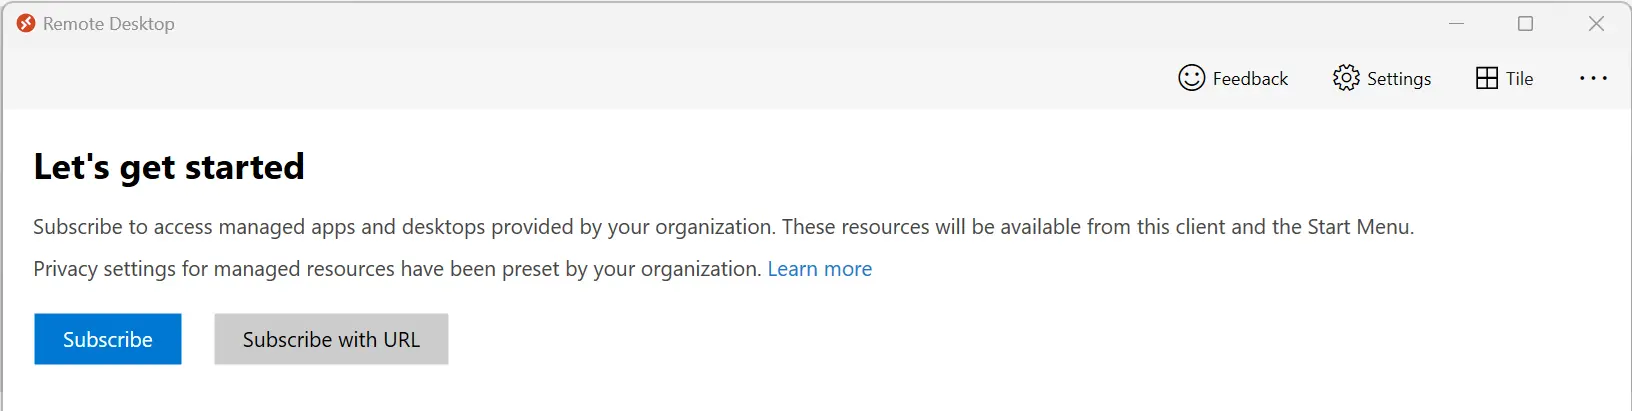
Step 2

Launch the app and click the blue subscribe button.

Image
Remote desktop screen showing Let's get Started, Subscribe to access managed apps and desktops provided by your organization. These resources will be available from this client and the Start Menu. Privacy settings for managed resources have been preset by your organization. Learn more"  followed by two buttons first a blue Subscribe button, then a grey Subscribe with URL button.

Step 3

Sign in with your full osteo.wvsom.edu email address and password then authenticate with DUO.
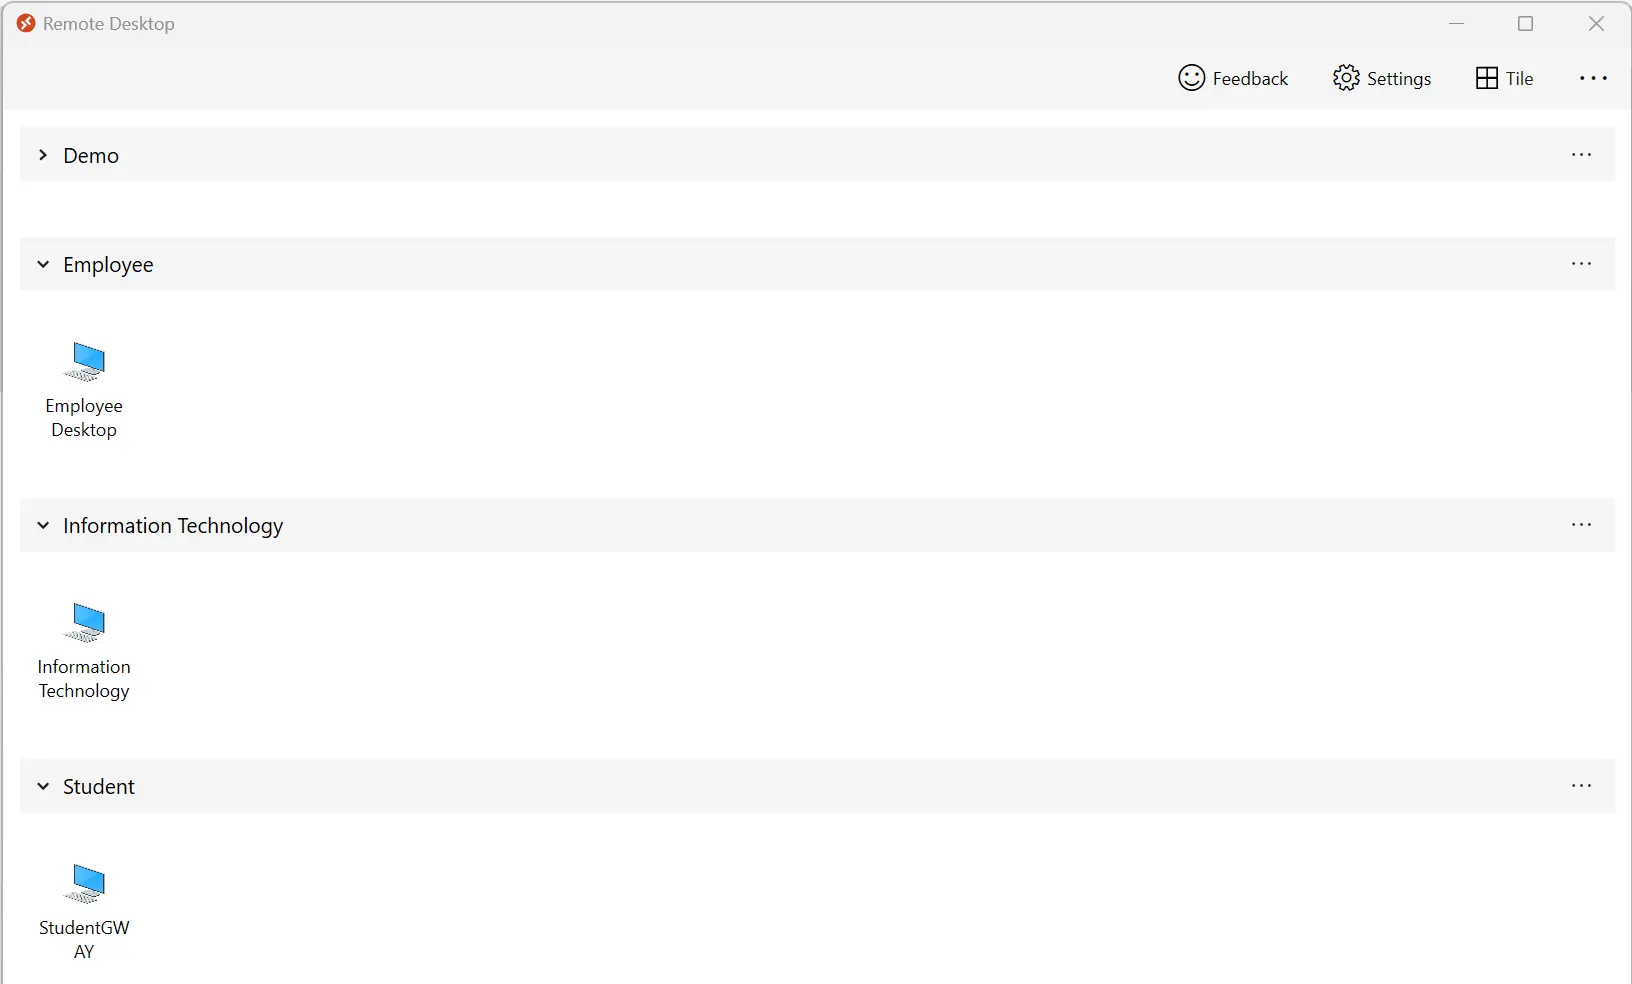
Step 4

Once signed in the assigned desktops should appear. Double Click the icon for the correct desktop.

Image
Screenshot showing example desktops that could be available.  Demo closed collapsible, an opened Employee element, information technology element and a student element. They each contain one desktop named the same as the section, except student is named StudentGWAY. Each section has ... menus to the right. ,

Step 5

A password prompt will appear. Enter your password, click okay and the virtual desktop will be loaded.
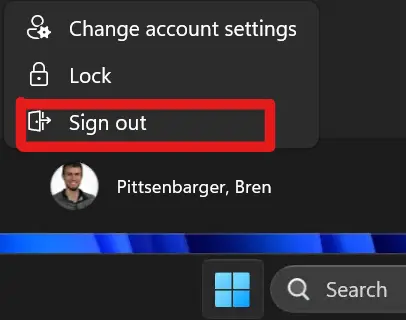
Step 6

Reminder! When you have finished your work, be sure to click start, your name, and sign out!

Image
Screen shot showing options when clicking name within remote desktop. Options are Change account settings, lock and Sign out. Sign out is highlighted to show its location on the bottom in a red square.